Character Modelling
Reflection & Key Learning
This project provided full experience across the entire character pipeline, from reference gathering to final rendering.
- Major learning outcomes included:
- building a complete high‑poly → low‑poly workflow
- improved understanding of Baking, UV workflows, and stylised texturing
- developing confidence in Blender, Marmoset Toolbag, Substance Painter, and Maya
- Overall, the project successfully resulted in a fully game‑ready stylised character.
Project Overview
- Create a game‑ready, stylised character asset using a full production pipeline.
- Recreate Chibi Spirit Blossom Sett (Popmart x TFT) in an A‑pose for future rigging.
- Use a combination of physical model reference, photography, and AI‑generated proportion guides.
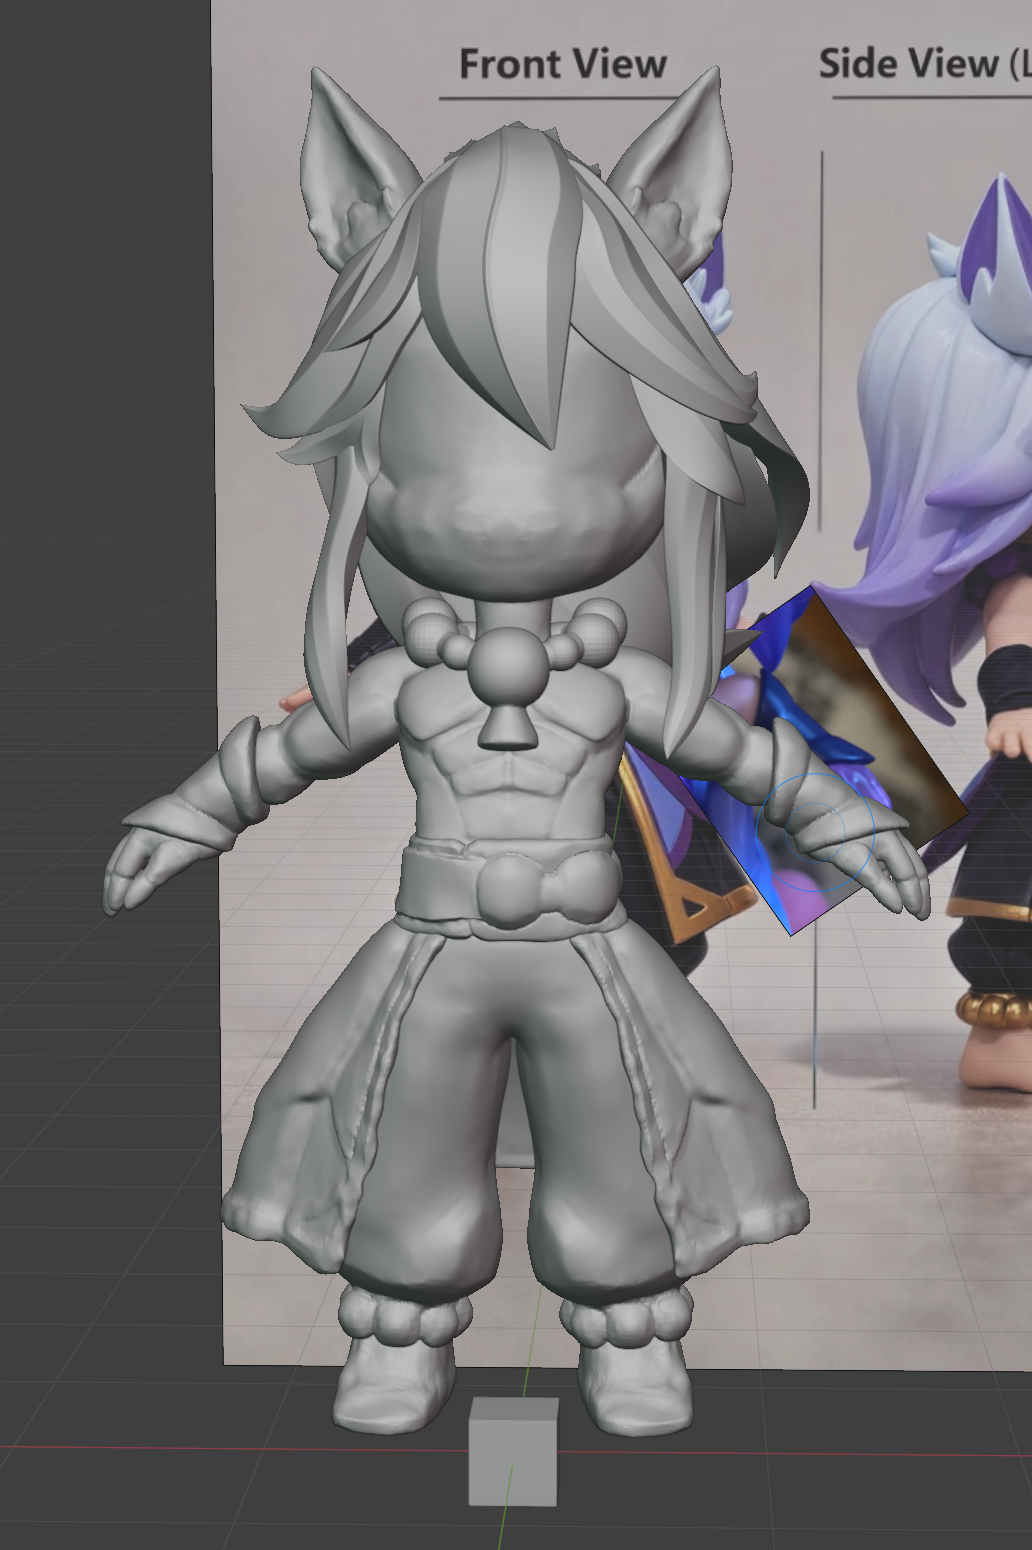
Sculpting (Blender)
- Followed: Blockout → Primary Detail → Secondary Detail.
- Reference images placed around workspace; mirror sculpting used for all symmetrical parts.
- Blockout created using simple primitives (spheres, cubes).
- Clothing + accessories added early: trousers, belt, beads, necklace, cloak.
- Cloak built from two planes → solidify → sculpted trim and leaf motifs.
- Hair created using spline curves, with varied profiles for a stylised chunky look.
- Result: Complete high‑poly sculpt ready for retopology.
Retopology (Maya)
- Low‑poly, silhouette‑focused workflow.
- Model divided into components:
- Body (torso, head, trousers, feet, belt)
- Cloak
- Necklace
- Hair + ear pieces
- Left hand
- Simplified shapes, relying on baking for fine detail (e.g., abs, muscles).
- Extra triangles added in knees, elbows, fingers for deformation support.
- Hair split into multiple sections (front, back, top, ear pieces) to manage strand flow.
- Final low‑poly model preserved silhouette while staying optimised.
UV Mapping (Maya)
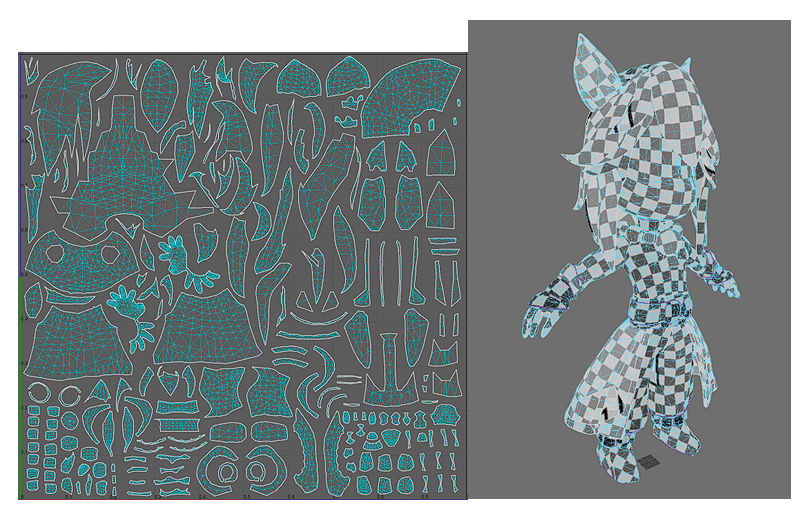
- Entire model packed into one UV set for a game‑friendly workflow.
- Seams placed along hard edges and natural colour divisions.
- Consistent texel density across shells via Maya’s get/set density tools.
- Large features (face, torso) given slightly higher density.
- Hair UVs arranged in leftover space to maximise texture use.
- Clean checkerboard test confirming alignment and stretching control.
Baking (Marmoset Toolbag + Substance Painter)
- Mesh triangulated before baking for accurate projection.
- Initial Substance bake showed artefacts → switched to Marmoset for better cage control.
- Used paint offset cages for each mesh → noticeably cleaner results (especially hair + muscles).
- AO artefacts (bright edges) fixed using two‑sided baking and manual cleanup.
- Final maps checked and refined in Substance Painter.
Texturing (Substance Painter)
- Fully non‑destructive layer‑based workflow.
- Four main texture groups:
- Body
- Cloak
- Hair & ears
- Face
- For most details base colour → variation → curvature highlights
- gold details enhanced with stretched grunge maps
- Cloak patterns created using mirrored spline masks.
- Hair textured with gradient sections and reflective edge highlights.
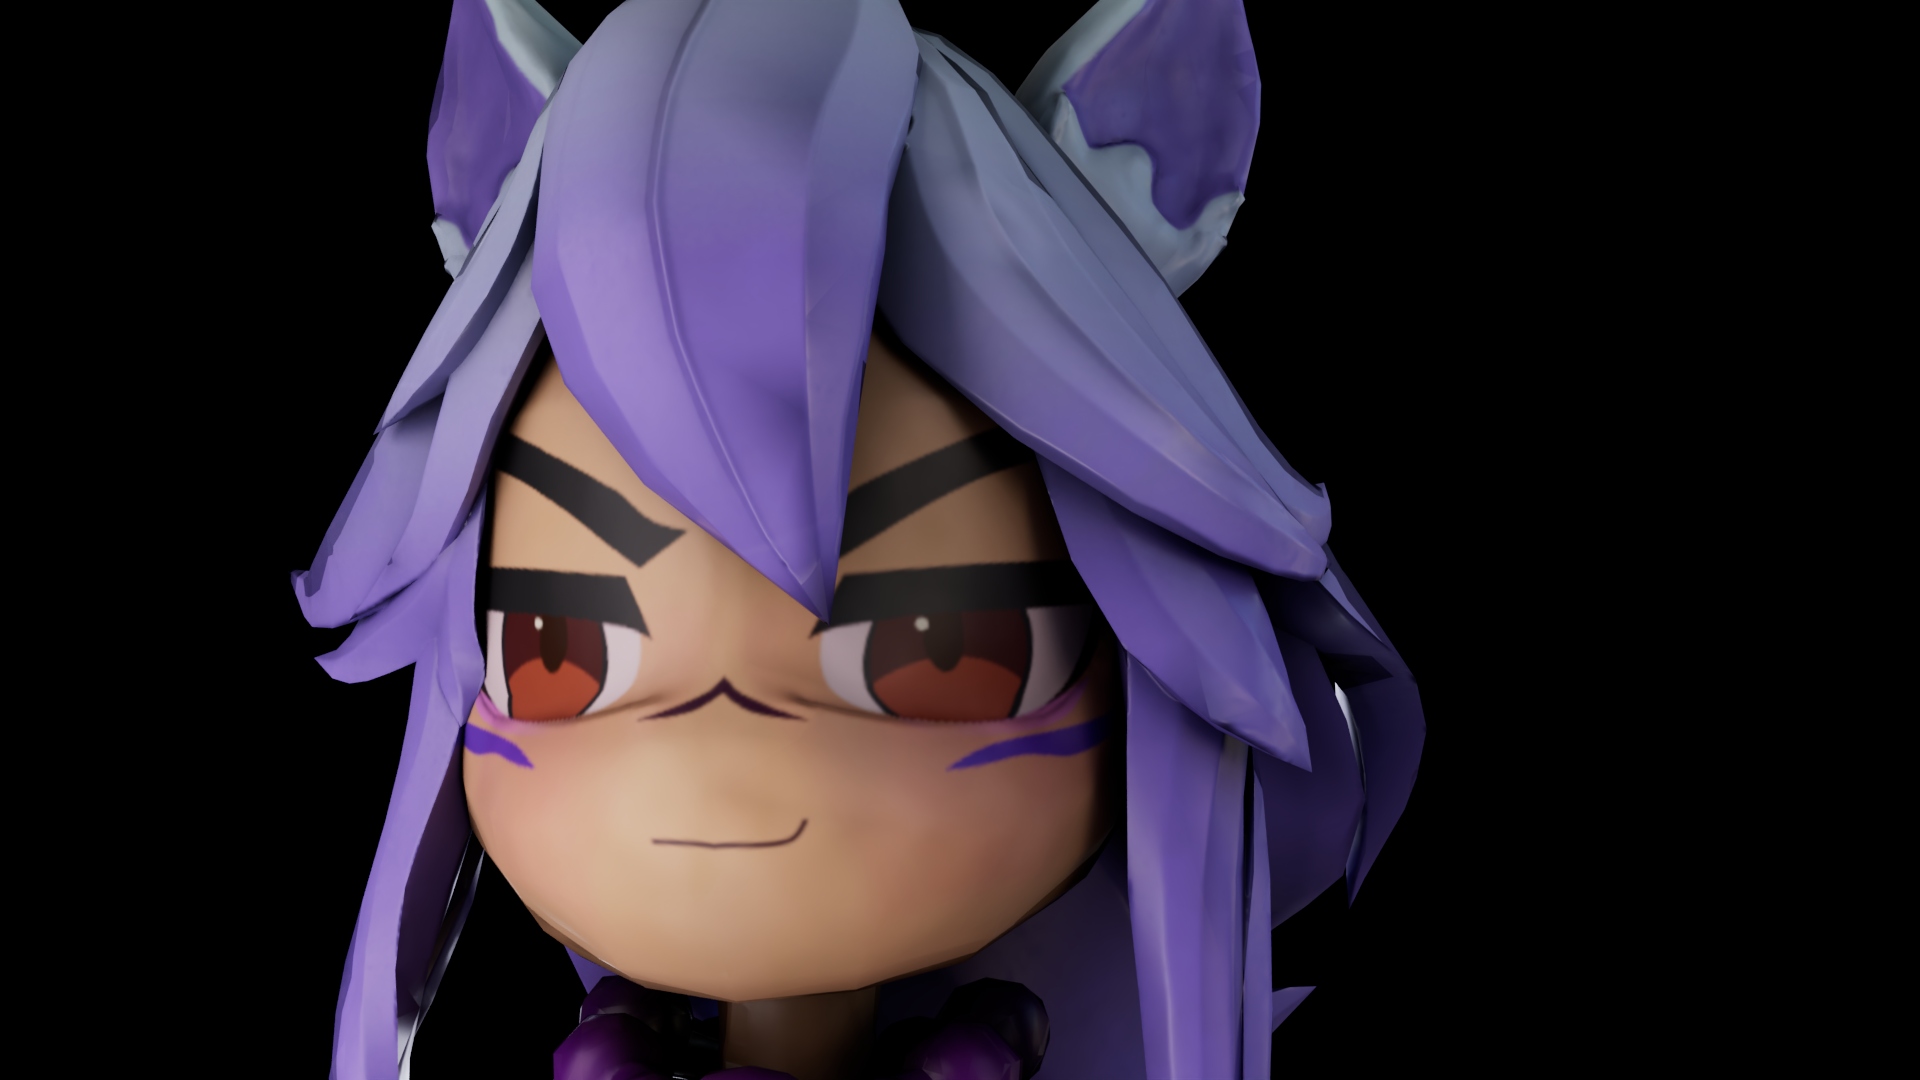
- Face built using spline masks, anchor points, gradients, and soft‑light blush.
- Left hand assigned a translucent material, set up in Maya.
Lighting & Rendering (Arnold)
- HDRI‑based scene with three‑point lighting:
- Key light (left)
- Soft fill lights
- Strong backlight for pronounced rim highlights
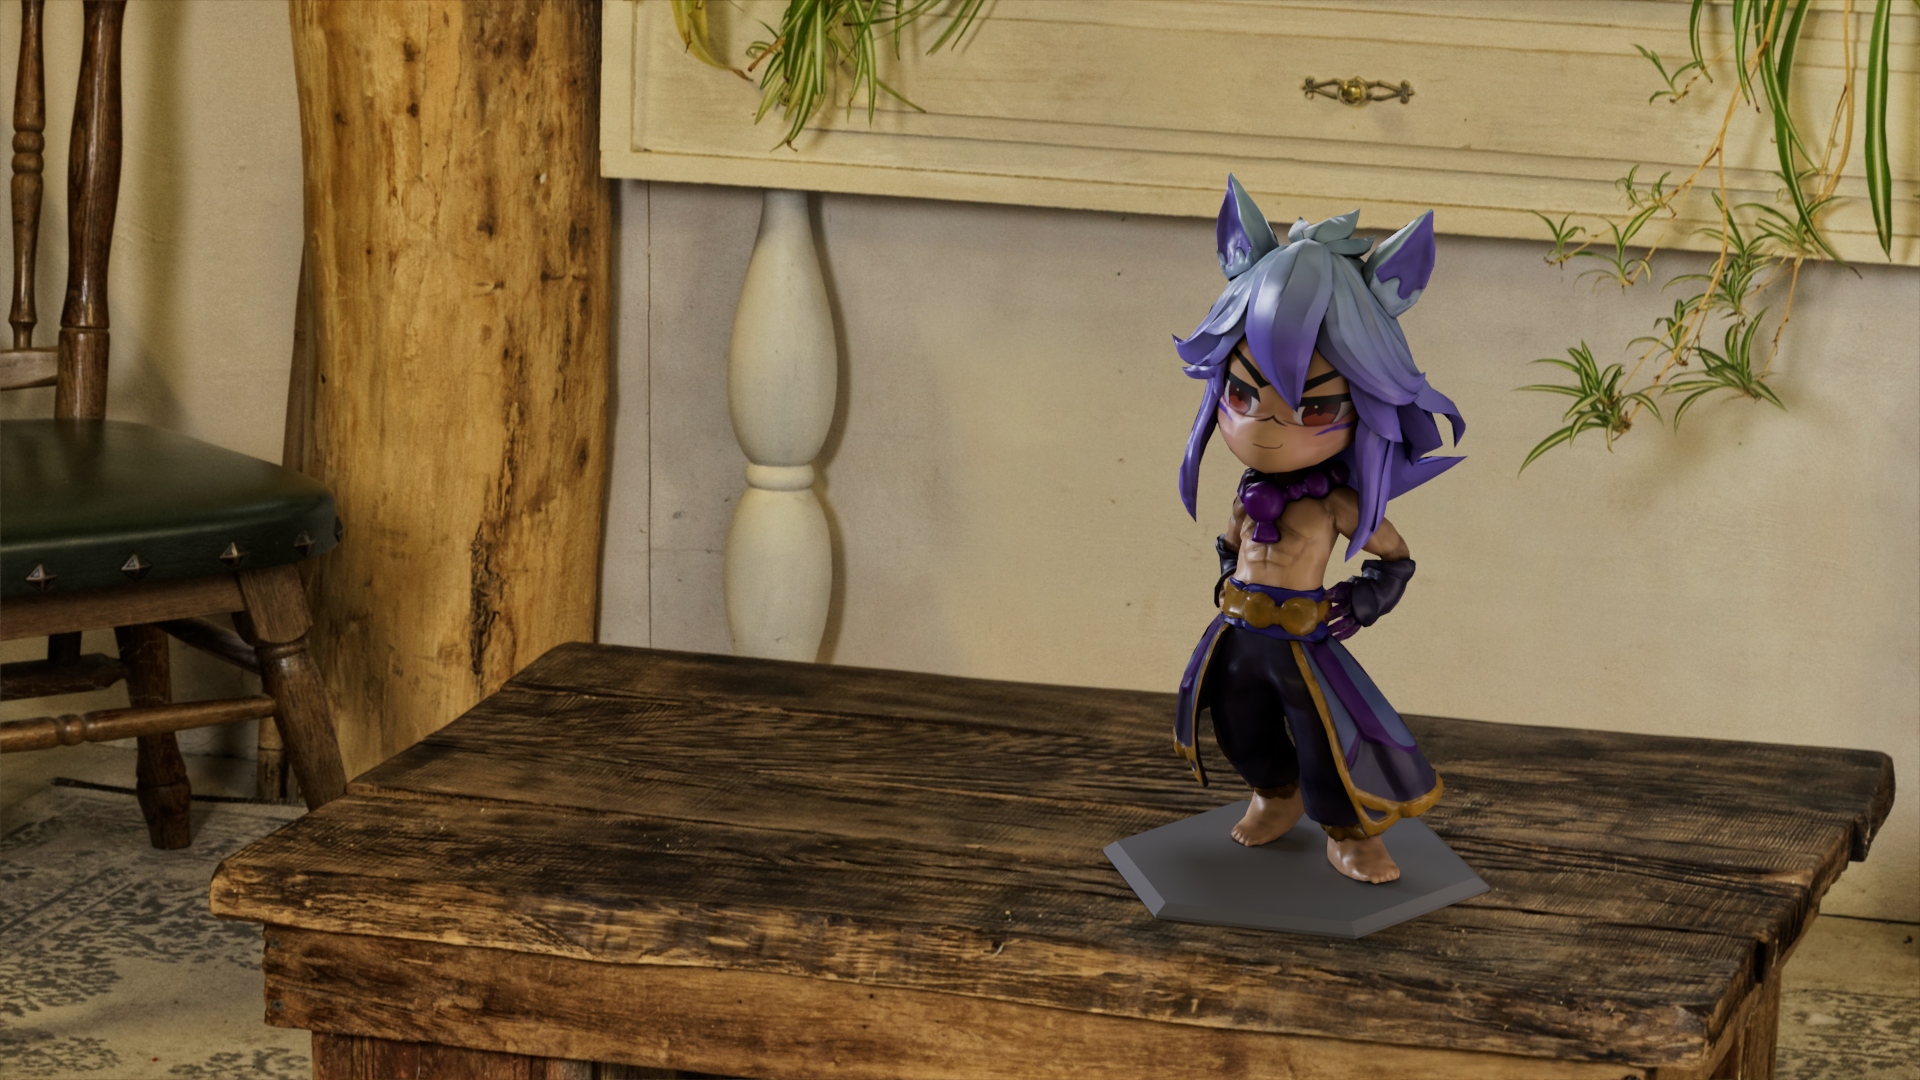
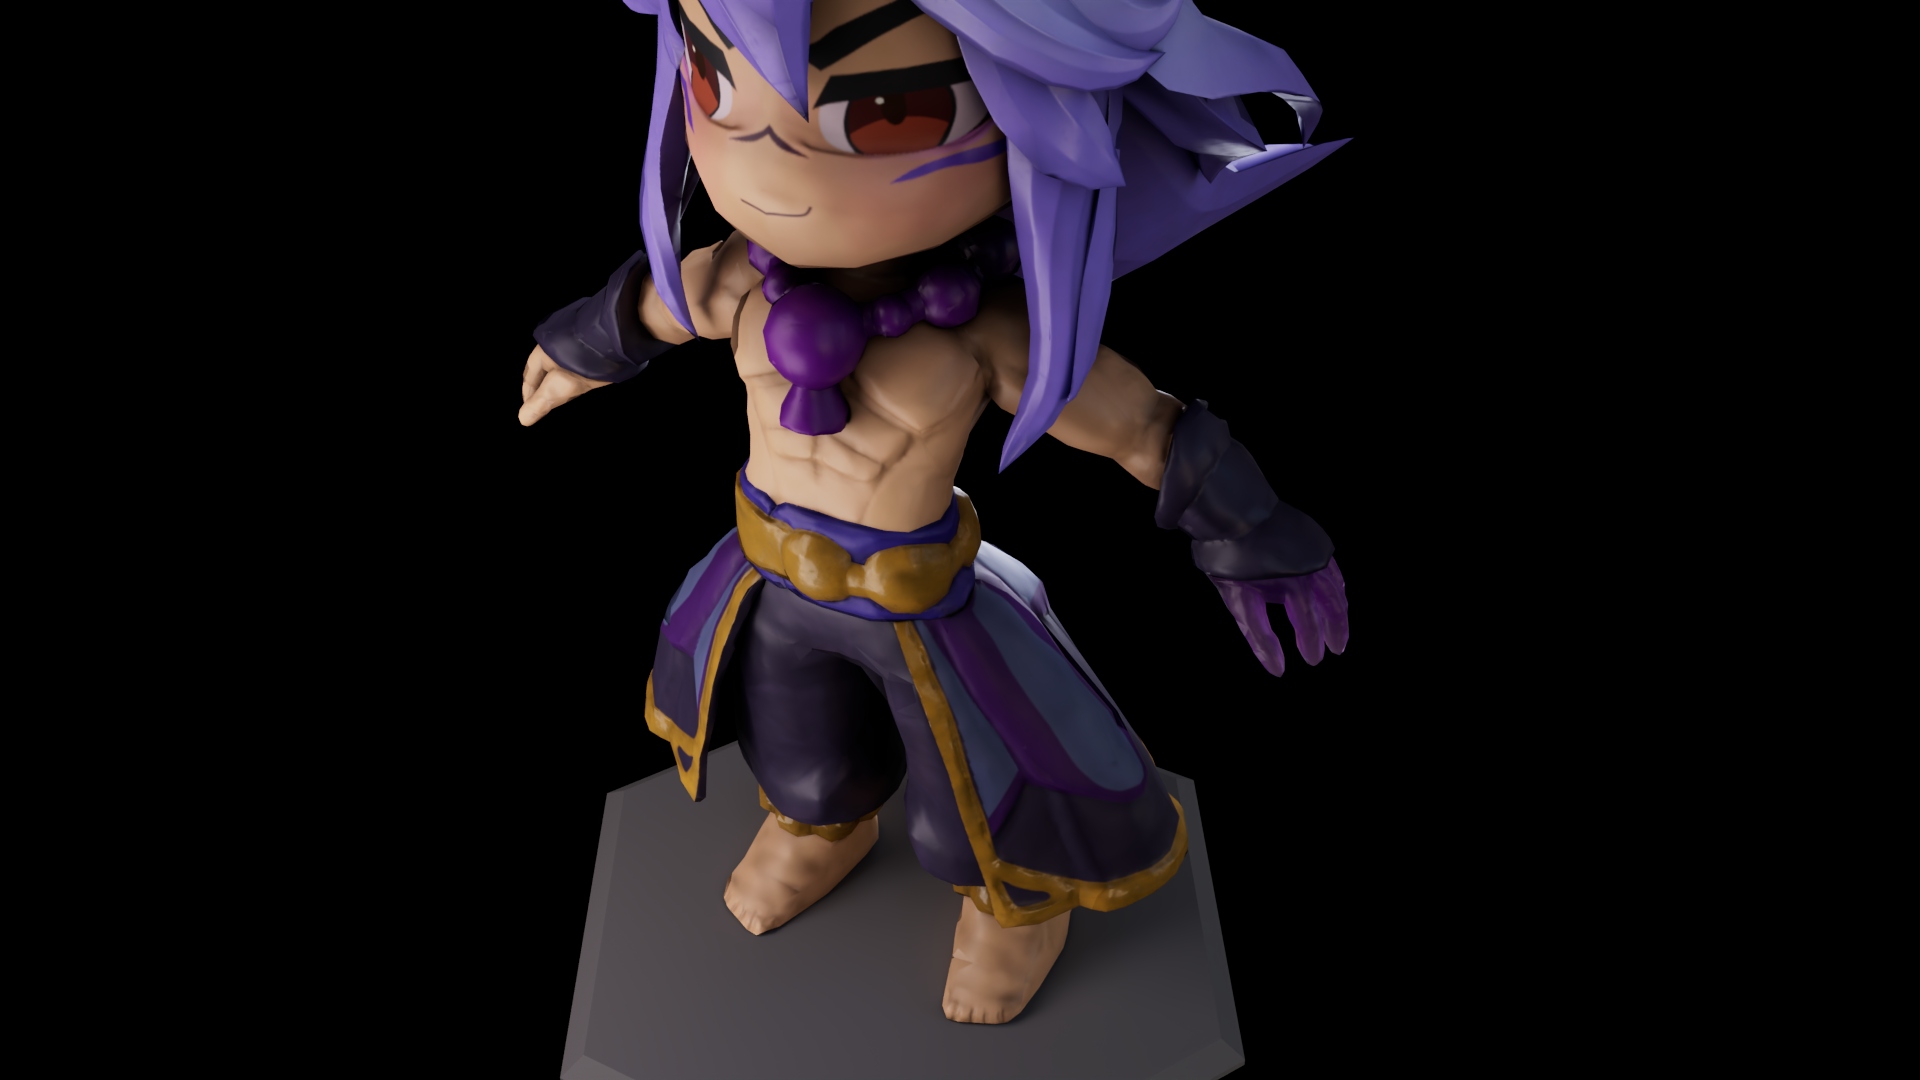
- Custom hexagonal platform modelled and animated for a clean turnaround.
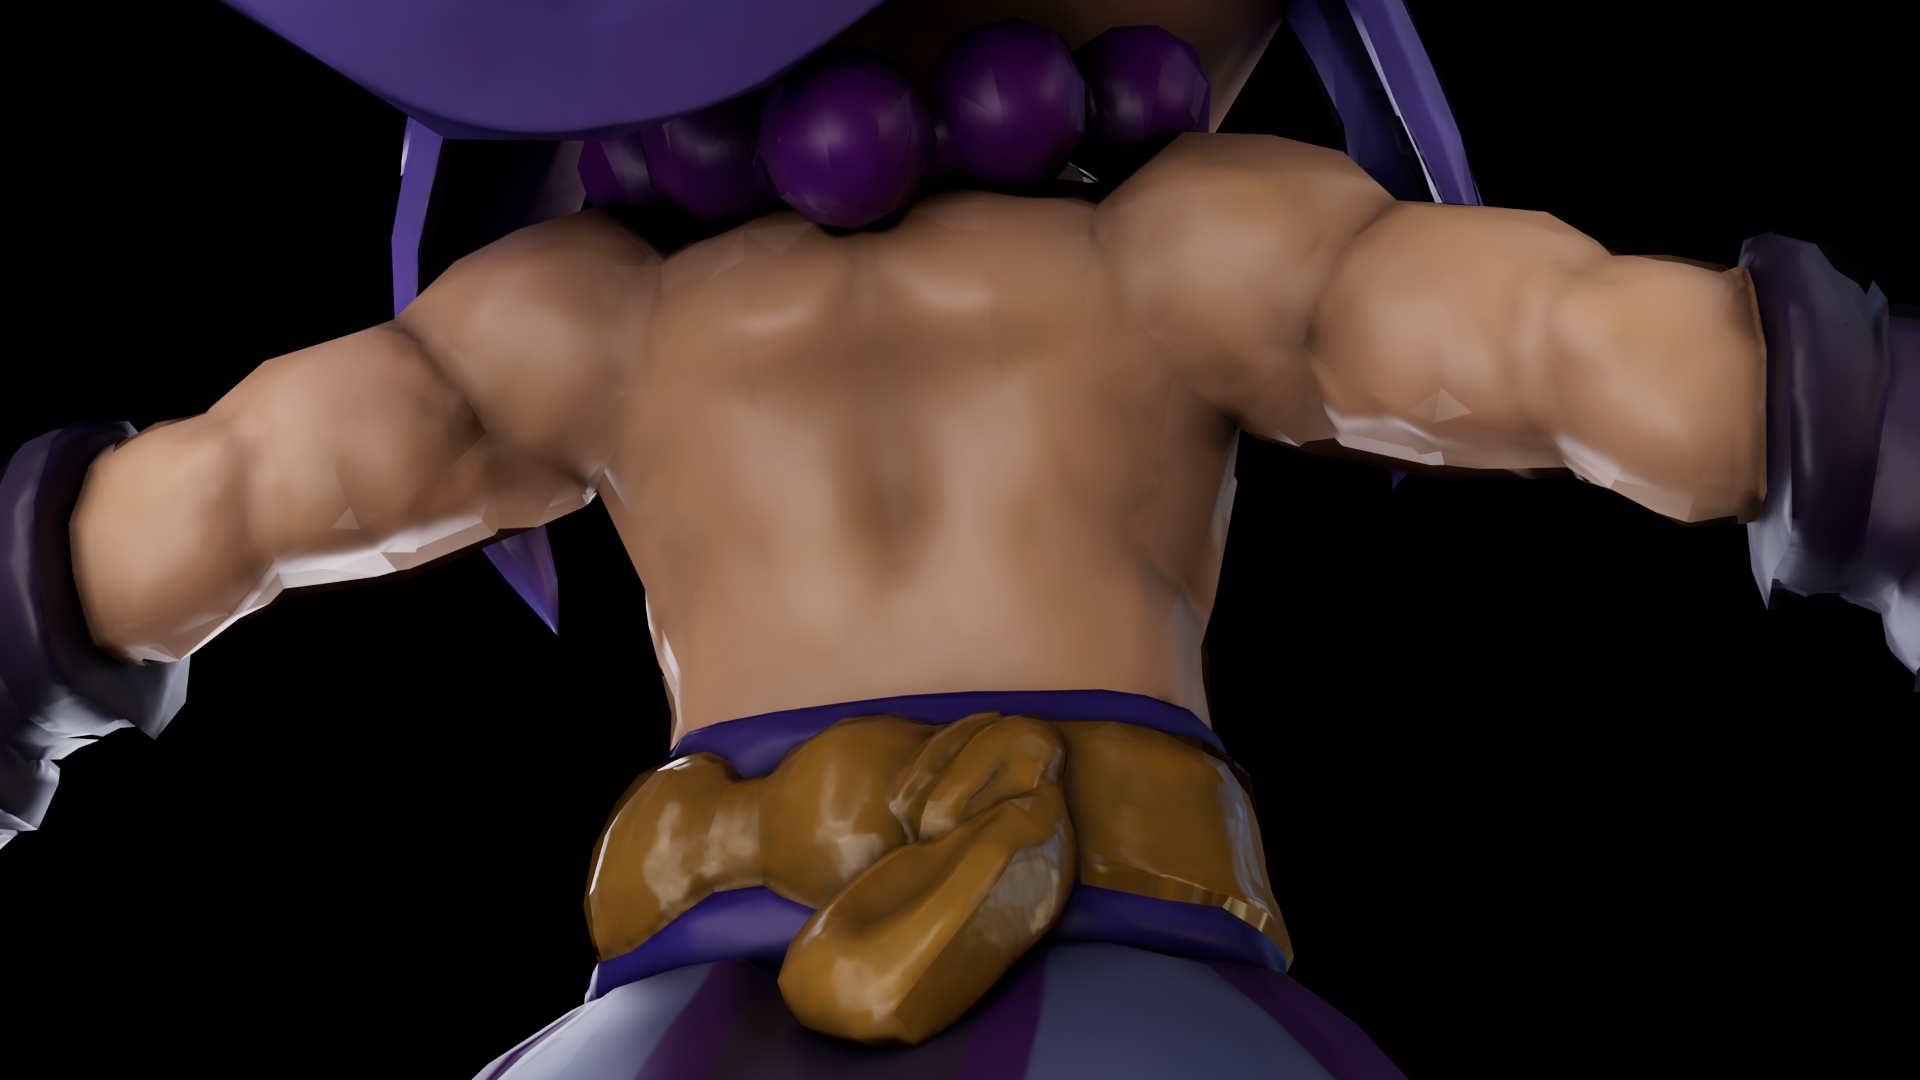
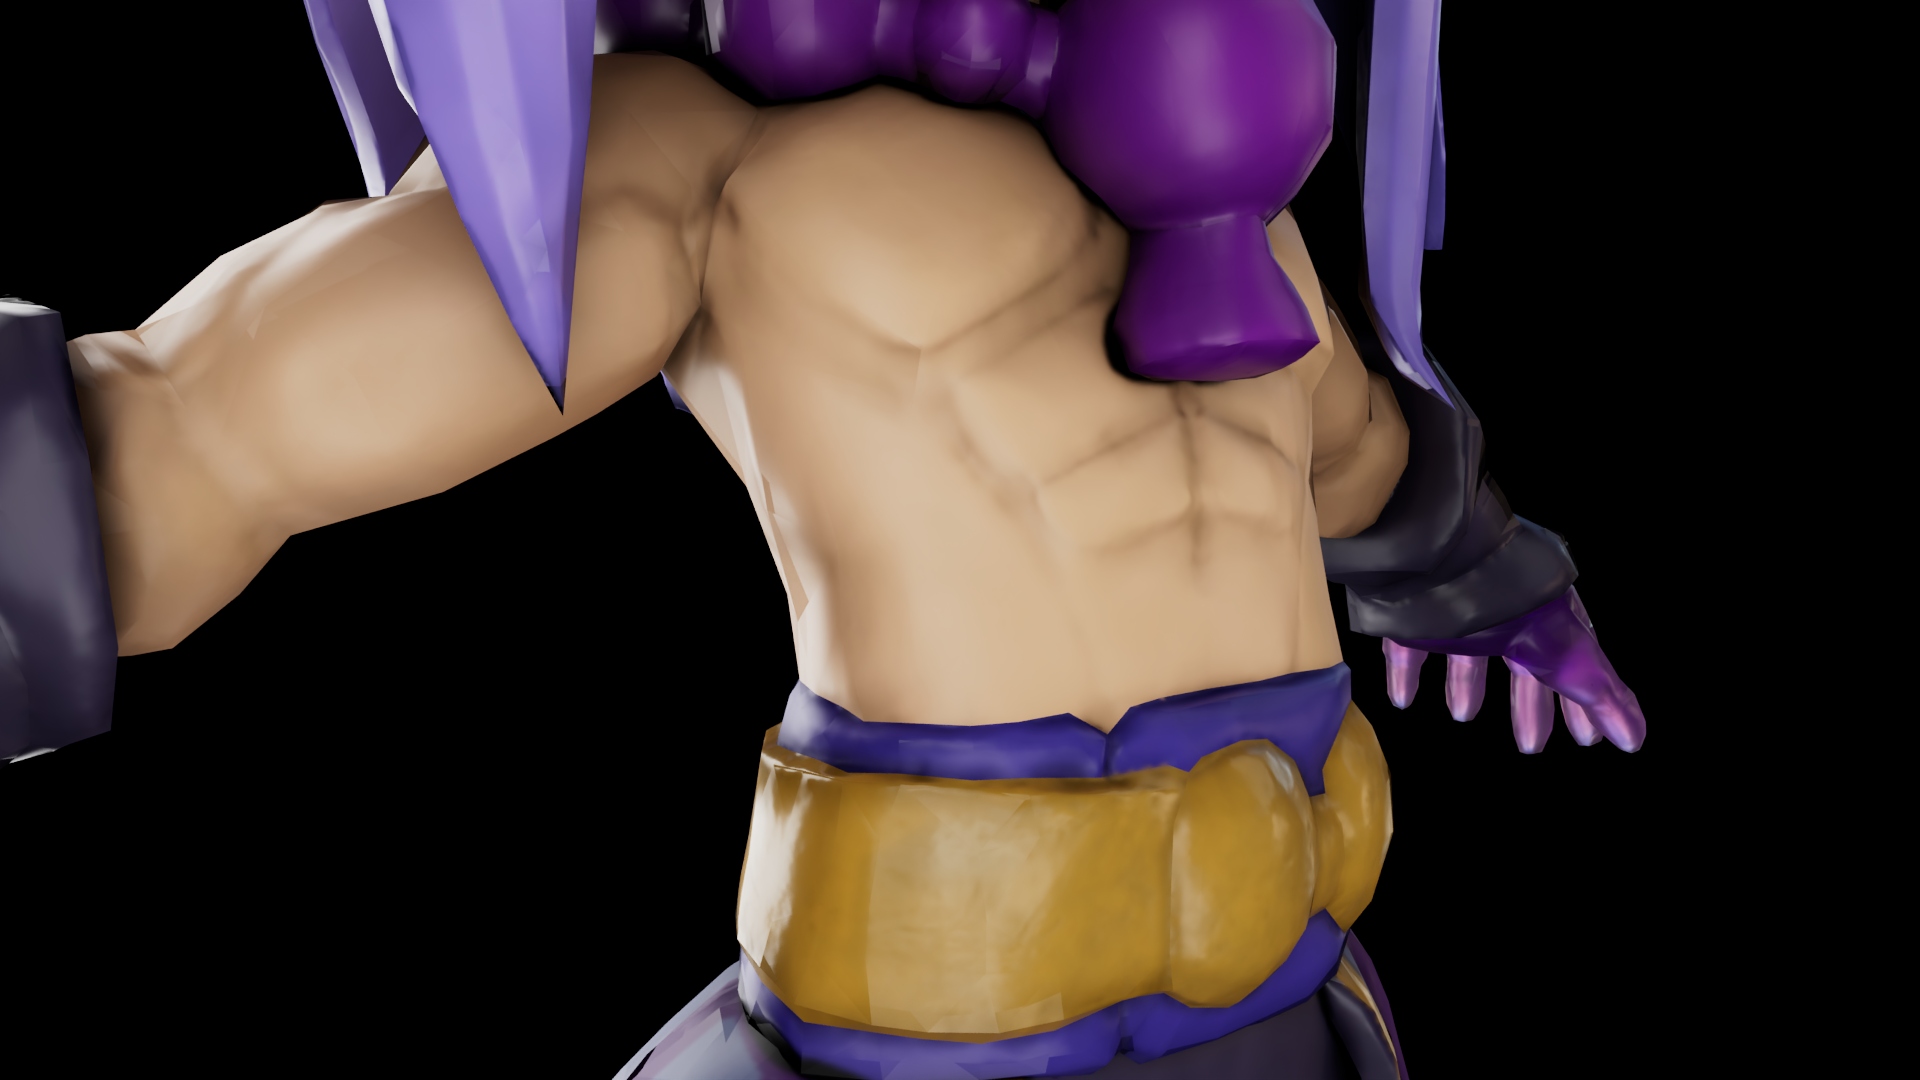
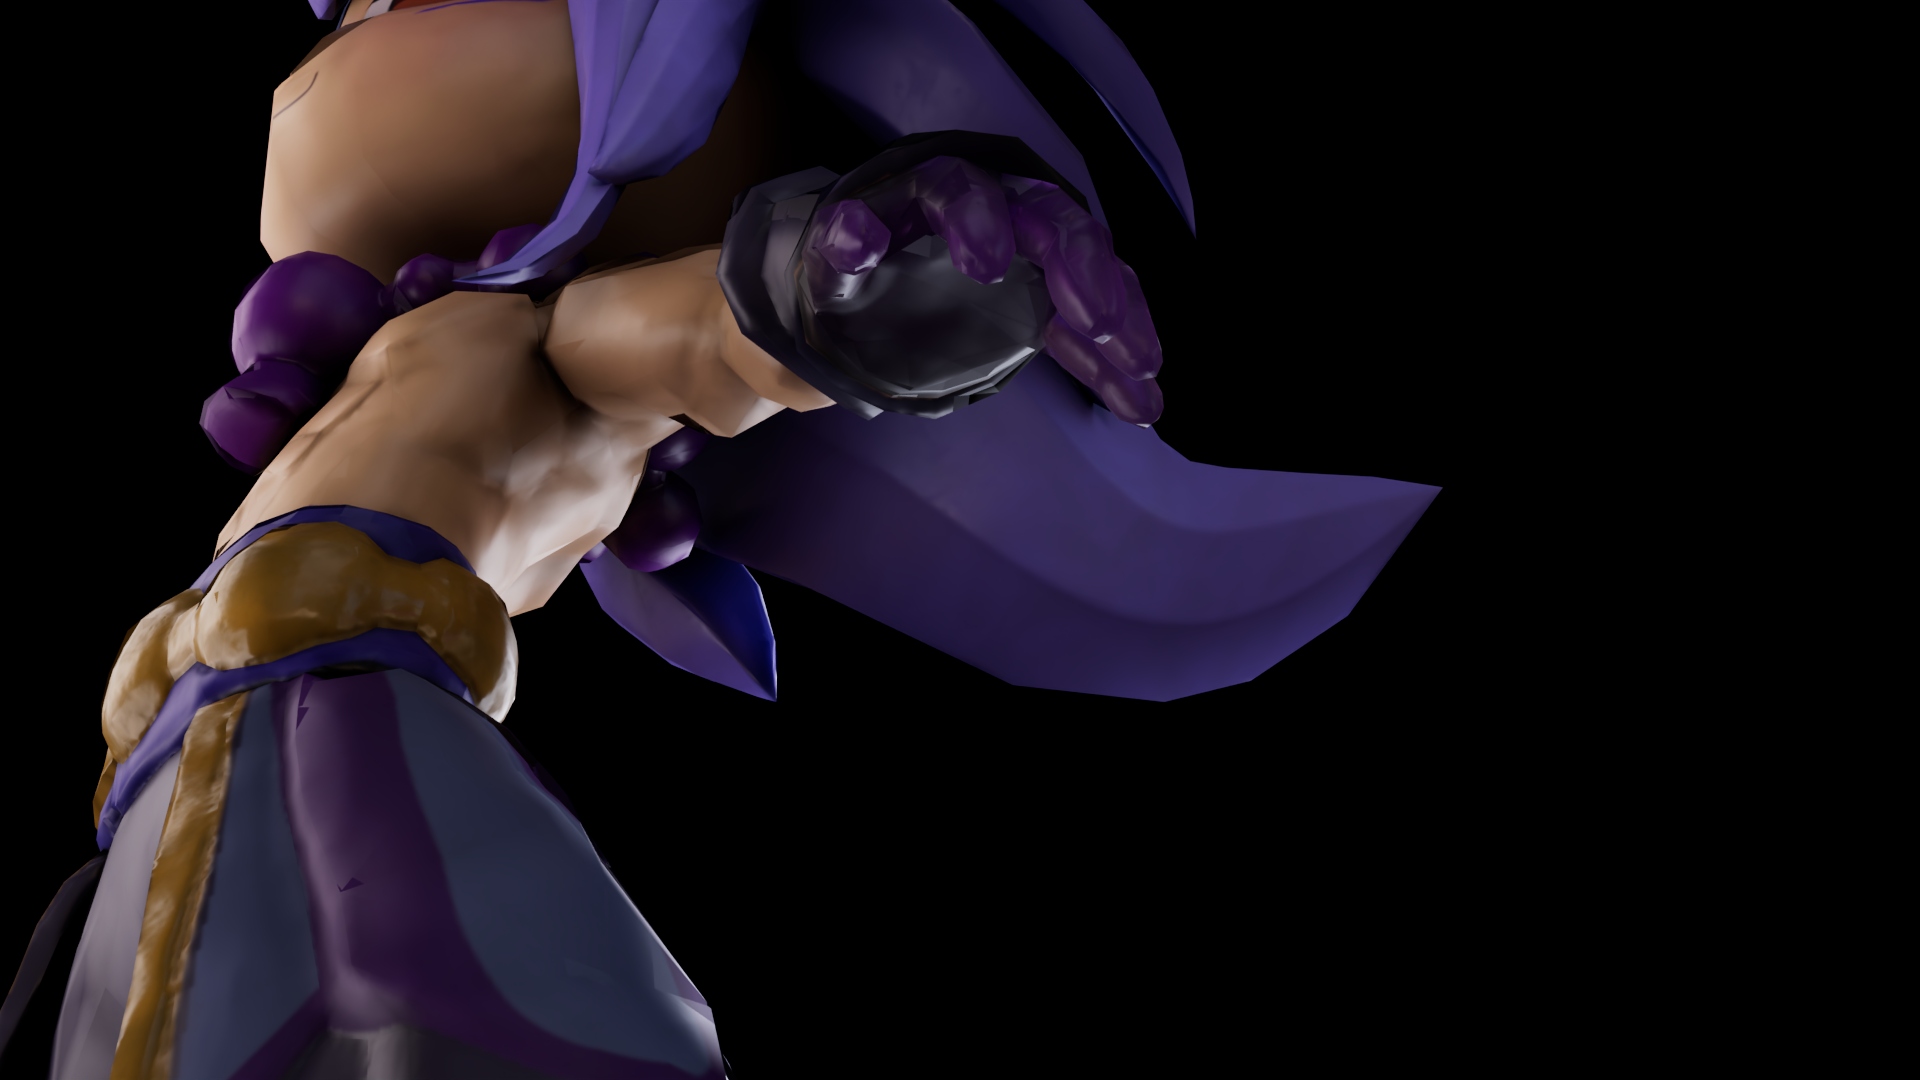
- Additional close‑up renders using camera bookmarks (muscles, belt, face).
- Final composite image created with a different HDRI and aiShadowMatte for clean backplate shadows.
Final Outcome
- A fully game‑ready, stylised character model with clean topology, accurate silhouette, and polished textures.
- Structured presentation including:
- turnaround passes
- wireframe / UV / beauty passes
- close‑ups
- Strong demonstration of a complete game asset pipeline.
Leave a comment
Log in with itch.io to leave a comment.